Activating Your Account

It all starts here. Activating your account opens the door to the wonderful world of Digital RSVP. We’ve made it simple to help you get a quick start.
Since you are here, you’ve probably already created your account, but let’s be sure. On the home page of Digital RSVP click the Create Account phrase at the top right of the screen. It’s simple from there. Fill in your information and click the big, blue Create Account button and you’re in!
When you submit the form a verification email is sent. That is where the password for your account is created.
Once you are logged into the system, click the icon resembling a person – this is the account tab. FIll in your Account information, then click the blue Update Info button to save it. Do the same with Billing information.
In the Account Status area, the icon of a lock is red and closed. Click on it to complete your payment.
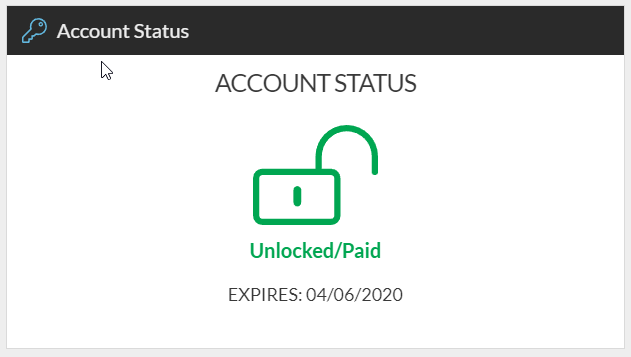
Once your account is activated you’ll receive a Success! message. The lock will turn to green and the icon will show that it is unlocked. Under the lock icon, the words Unlocked/Paid will appear in green. Your account is activated for a year, the expiration date will appear there also.
If you have questions, please contact us at [email protected]